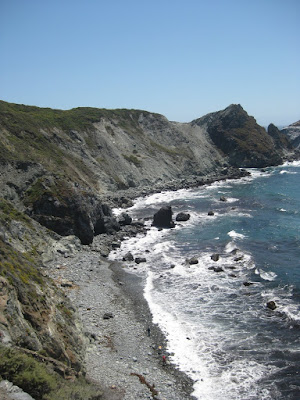
In GIMP, I usually use the 'auto white balance' option which usually gives great results. Often, I also use the 'auto color enhance' option and, occasionally, I use a simple filter to sharpen the features in the image.
Here's a GIMP script which will automate the process for a folder of pictures There are four input parameters. The first is the 'pattern' to find the files, e.g. "*.tiff" gives you all the tiff files in the directory. The next three inputs refer only to the sharpening filter. I use the (confusingly named) 'unsharp' filter which works by comparing using the difference of the image and a gaussian-blurred version of the image.
'radius' (pixels) of the blur (>1, suggested 5)
'amount' refers to the strength of the effect (suggested 0.5)
'threshold' refers to the pixel value beyond which the effects are applied (0 - 255, suggested 0)
These require a little bit of trial and error, depending on the type of picture. In the command line, the script is called like this:
gimp -i -b '(batch-auto-fix "*.JPG" 5.0 0.5 0)' -b '(gimp-quit 0)'
An obligatory example. Before:

and after:

Enjoy!