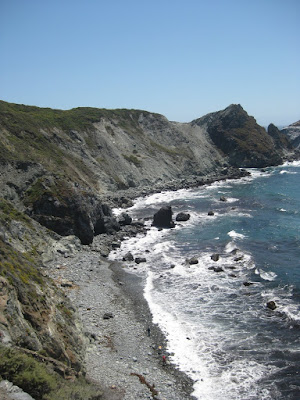
In GIMP, I usually use the 'auto white balance' option which usually gives great results. Often, I also use the 'auto color enhance' option and, occasionally, I use a simple filter to sharpen the features in the image.
Here's a GIMP script which will automate the process for a folder of pictures There are four input parameters. The first is the 'pattern' to find the files, e.g. "*.tiff" gives you all the tiff files in the directory. The next three inputs refer only to the sharpening filter. I use the (confusingly named) 'unsharp' filter which works by comparing using the difference of the image and a gaussian-blurred version of the image.
'radius' (pixels) of the blur (>1, suggested 5)
'amount' refers to the strength of the effect (suggested 0.5)
'threshold' refers to the pixel value beyond which the effects are applied (0 - 255, suggested 0)
These require a little bit of trial and error, depending on the type of picture. In the command line, the script is called like this:
gimp -i -b '(batch-auto-fix "*.JPG" 5.0 0.5 0)' -b '(gimp-quit 0)'
An obligatory example. Before:

and after:

Enjoy!
2 comments:
Thank you very much. This is very useful.
Hi Daniel, I’ve just digitised around 150 films as negatives using the Valoi Easy35 and Filmlab software. The conversion was straightforward and speedy. However, the photos need a little enhancement to bring the colours out. Now, I’m not a pro nor a hobbyist but I do have GIMP and use it on a very basic level for auto commands like white balance.
Your code is quoted widely elsewhere by those who are familiar with using it but they quickly veer into territory that I’m not experienced in or comfortable with such as text editors, script fu, terminal etc. Would it be possible to create a step by step guide (a.k.a. Idoits guide) for non-coders so that more people like me can use it to batch process images?
Post a Comment